Robomaster Development Board Flash Under Linux
When I used the Robomaster Development C Board as my embedding microcontroller system under Linux, I met some problems; I didn’t know how to flash the board, all things about flash on the web were progressed under windows operating system. So, I have investigated by myself and have learned something about stm32, stlink, and jlink knowledge. I’ll share how to deploy the Robomaster Dev Board development Environment under linux for you.
Prepare
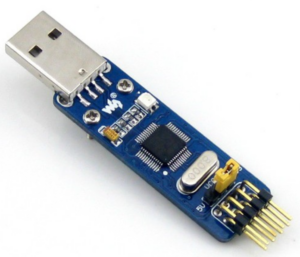
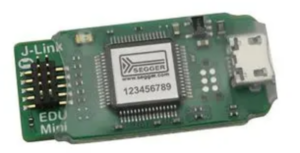
- ST-Link / J-Link (I used ST-link-mini-v2 by waveshare and J-link edu mini)
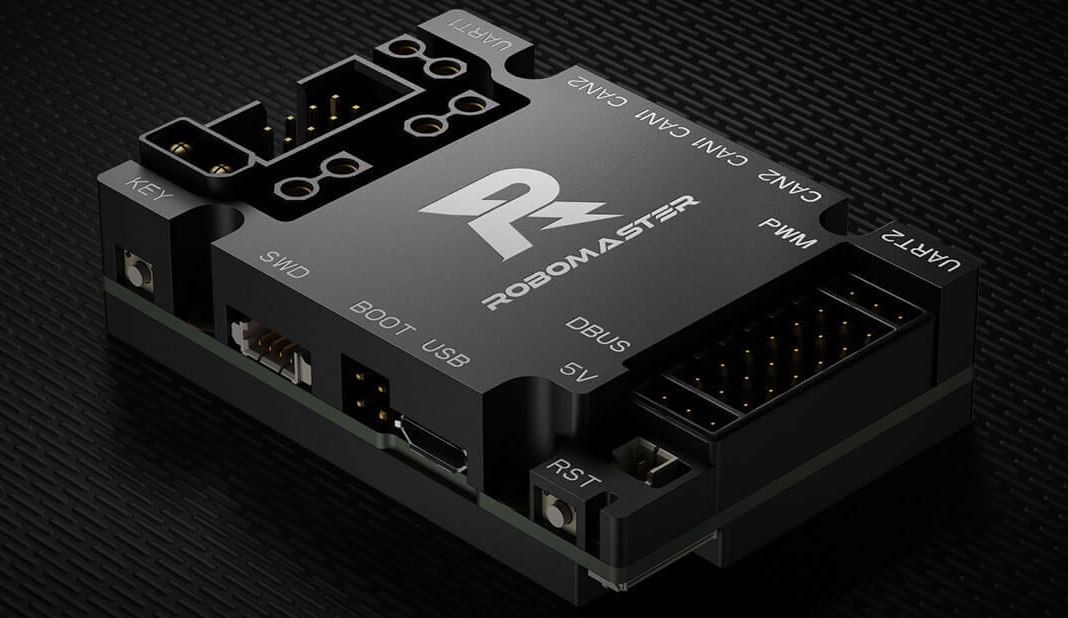
- Robomaster Development Board (Type A / Type C)
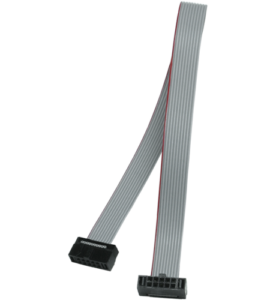
- SWD cable link (4pin)

- A linux host (of course, you can use Raspberry Pi Arm64, but stink v2 mini can’t work on arm64)
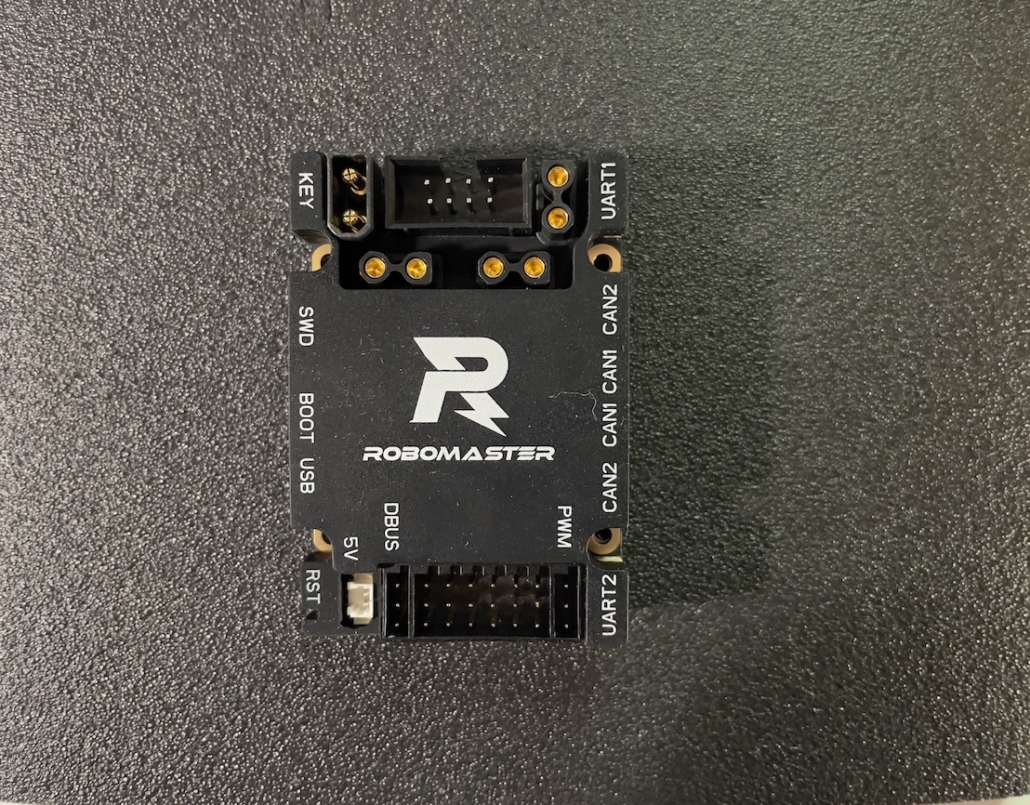
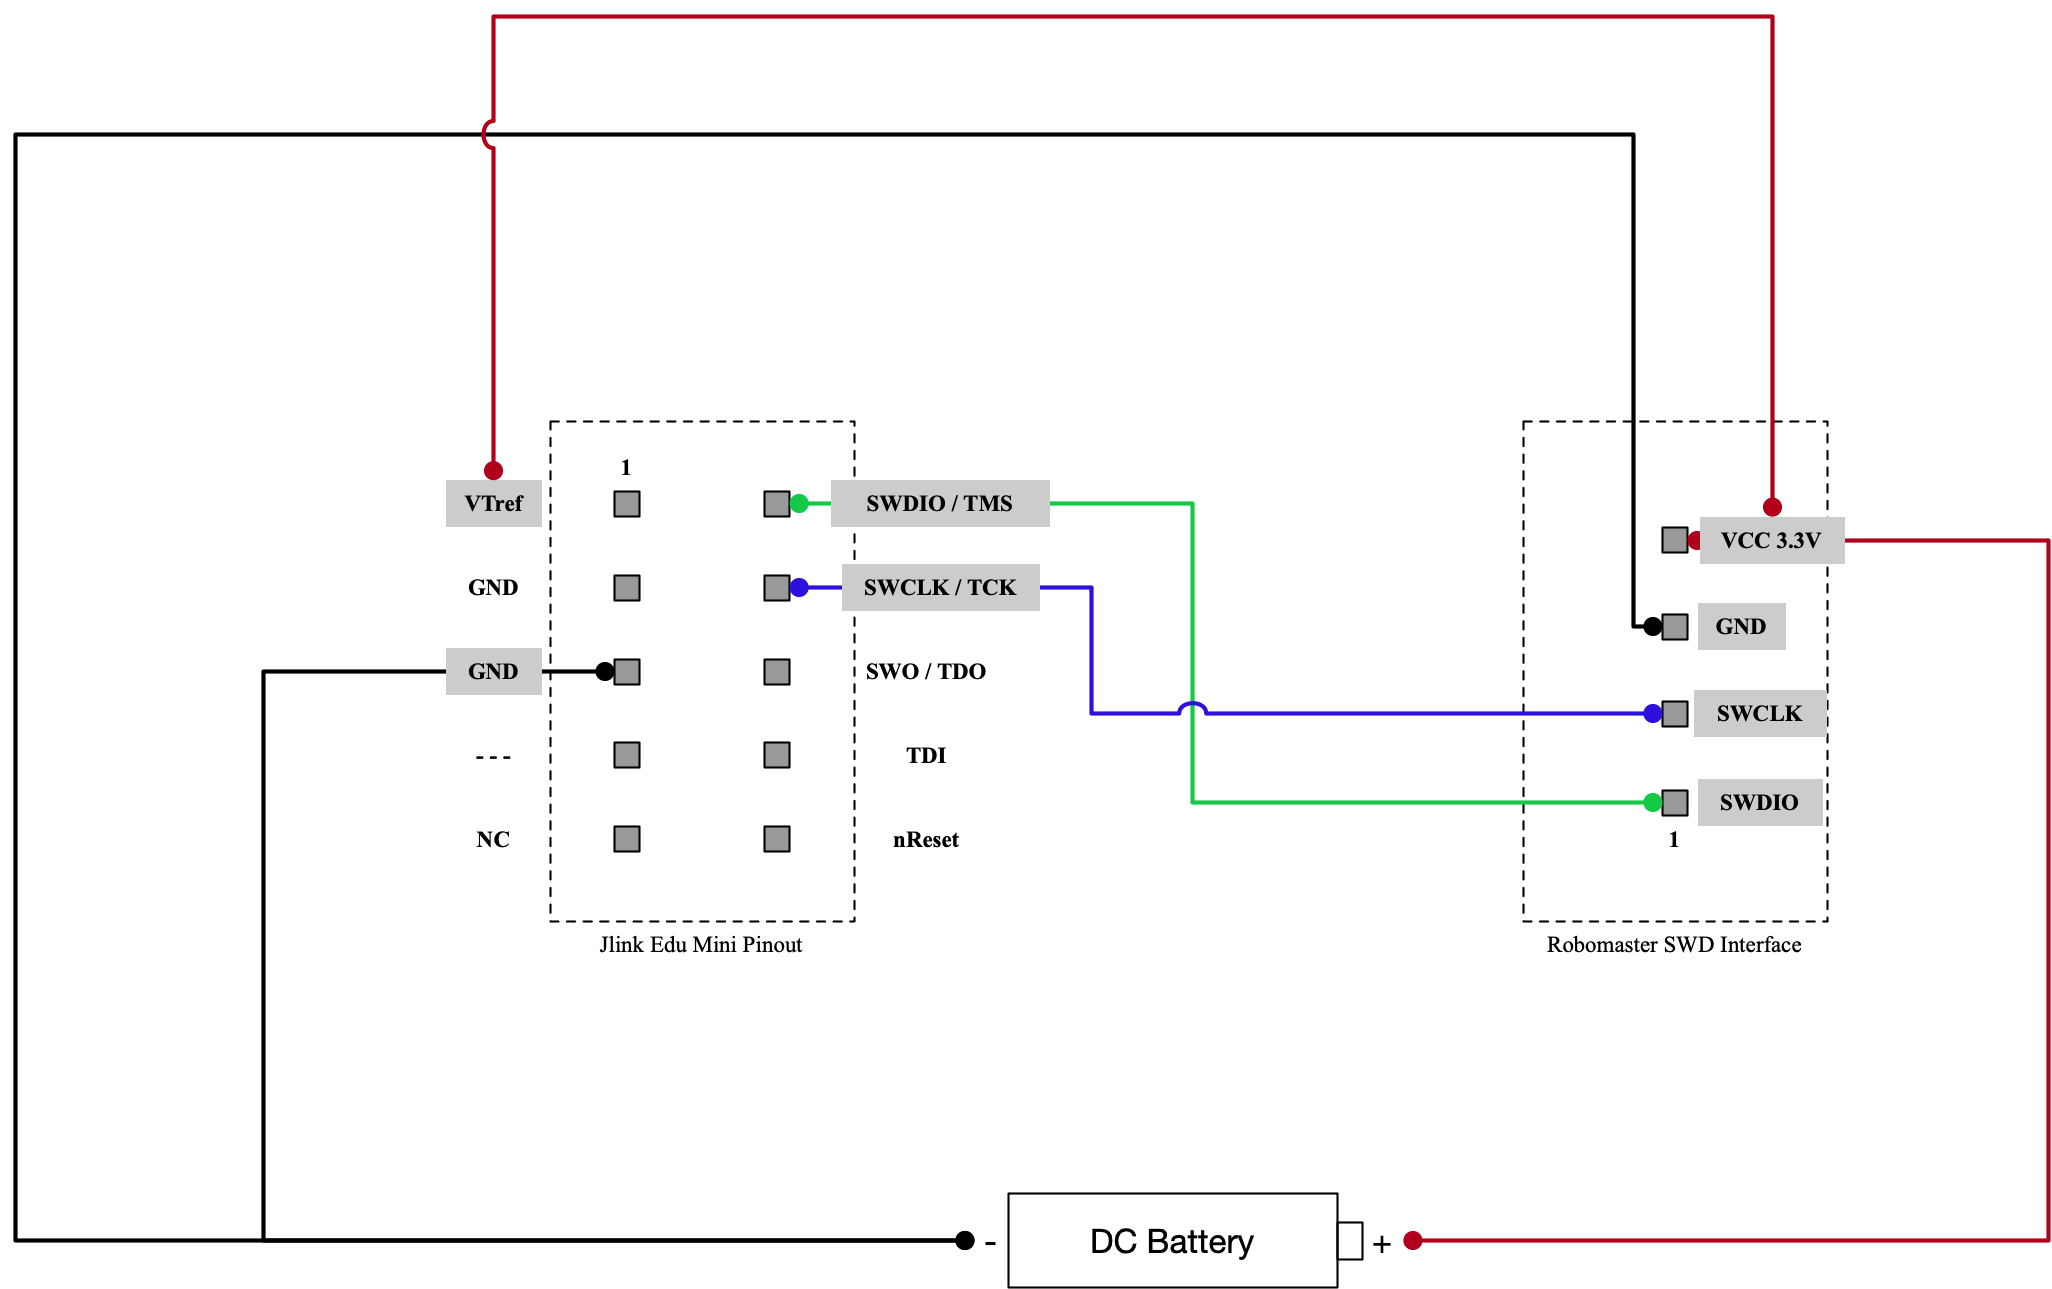
Pins Connect Figure

The above figure exhibits how to connect the development board and the stlink/jlink flasher. The more information you can reference from the Robomaster Development Board Type C User Manual.
Using STlink v2 mini is very simple, but it only works under Windows and Linux AMD64, so I will only talk about how to use jlink with the dev board because Jlink also supports macOS and linux arm64.
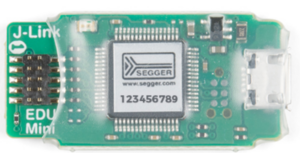
Jlink Edu Mini Connect
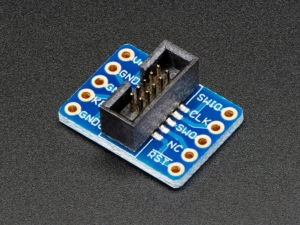
Jlink edu mini use 9-pin JTAG
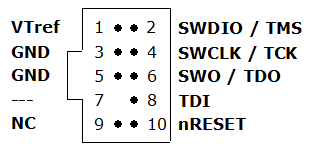
On the mini board, the No.1 pin is VTref, and you need to use a 9-pin ribbon cable to connect the jlink edu mini because the width between pins is 1.27mm. You also need a SWD (2*5 1.27mm) Cable Breakoutput to connect the robomaster dev board.
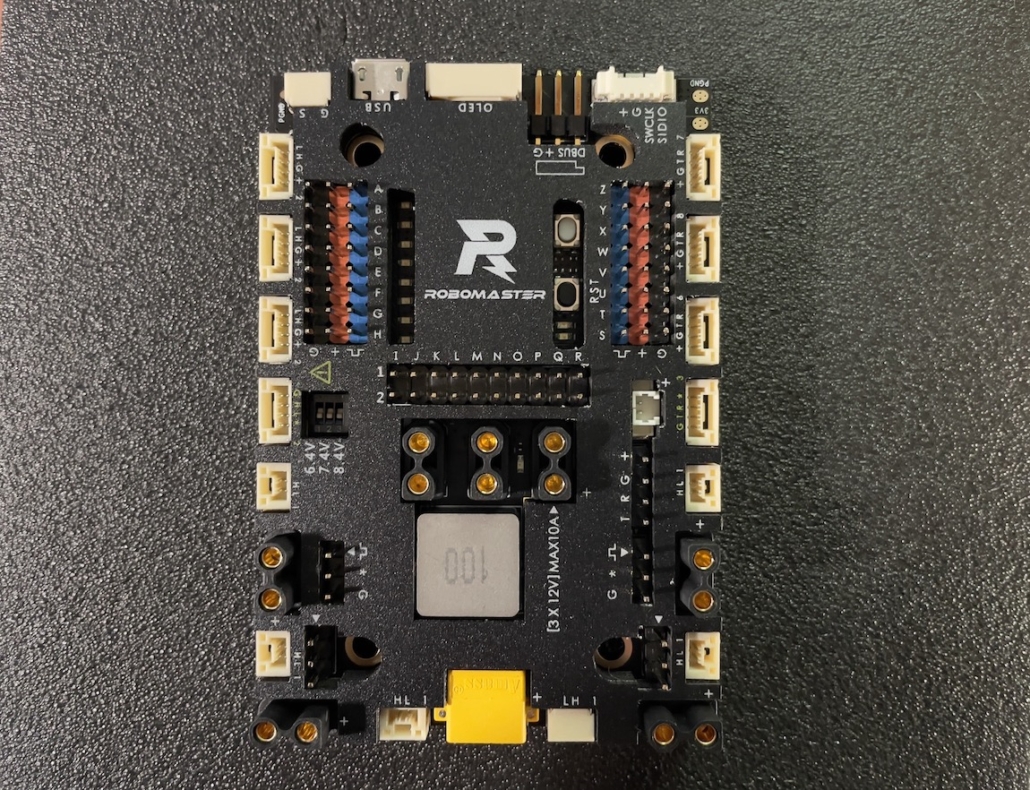
Let us connect pins between the Jlink mini and the dev board. Exhibit below figure.
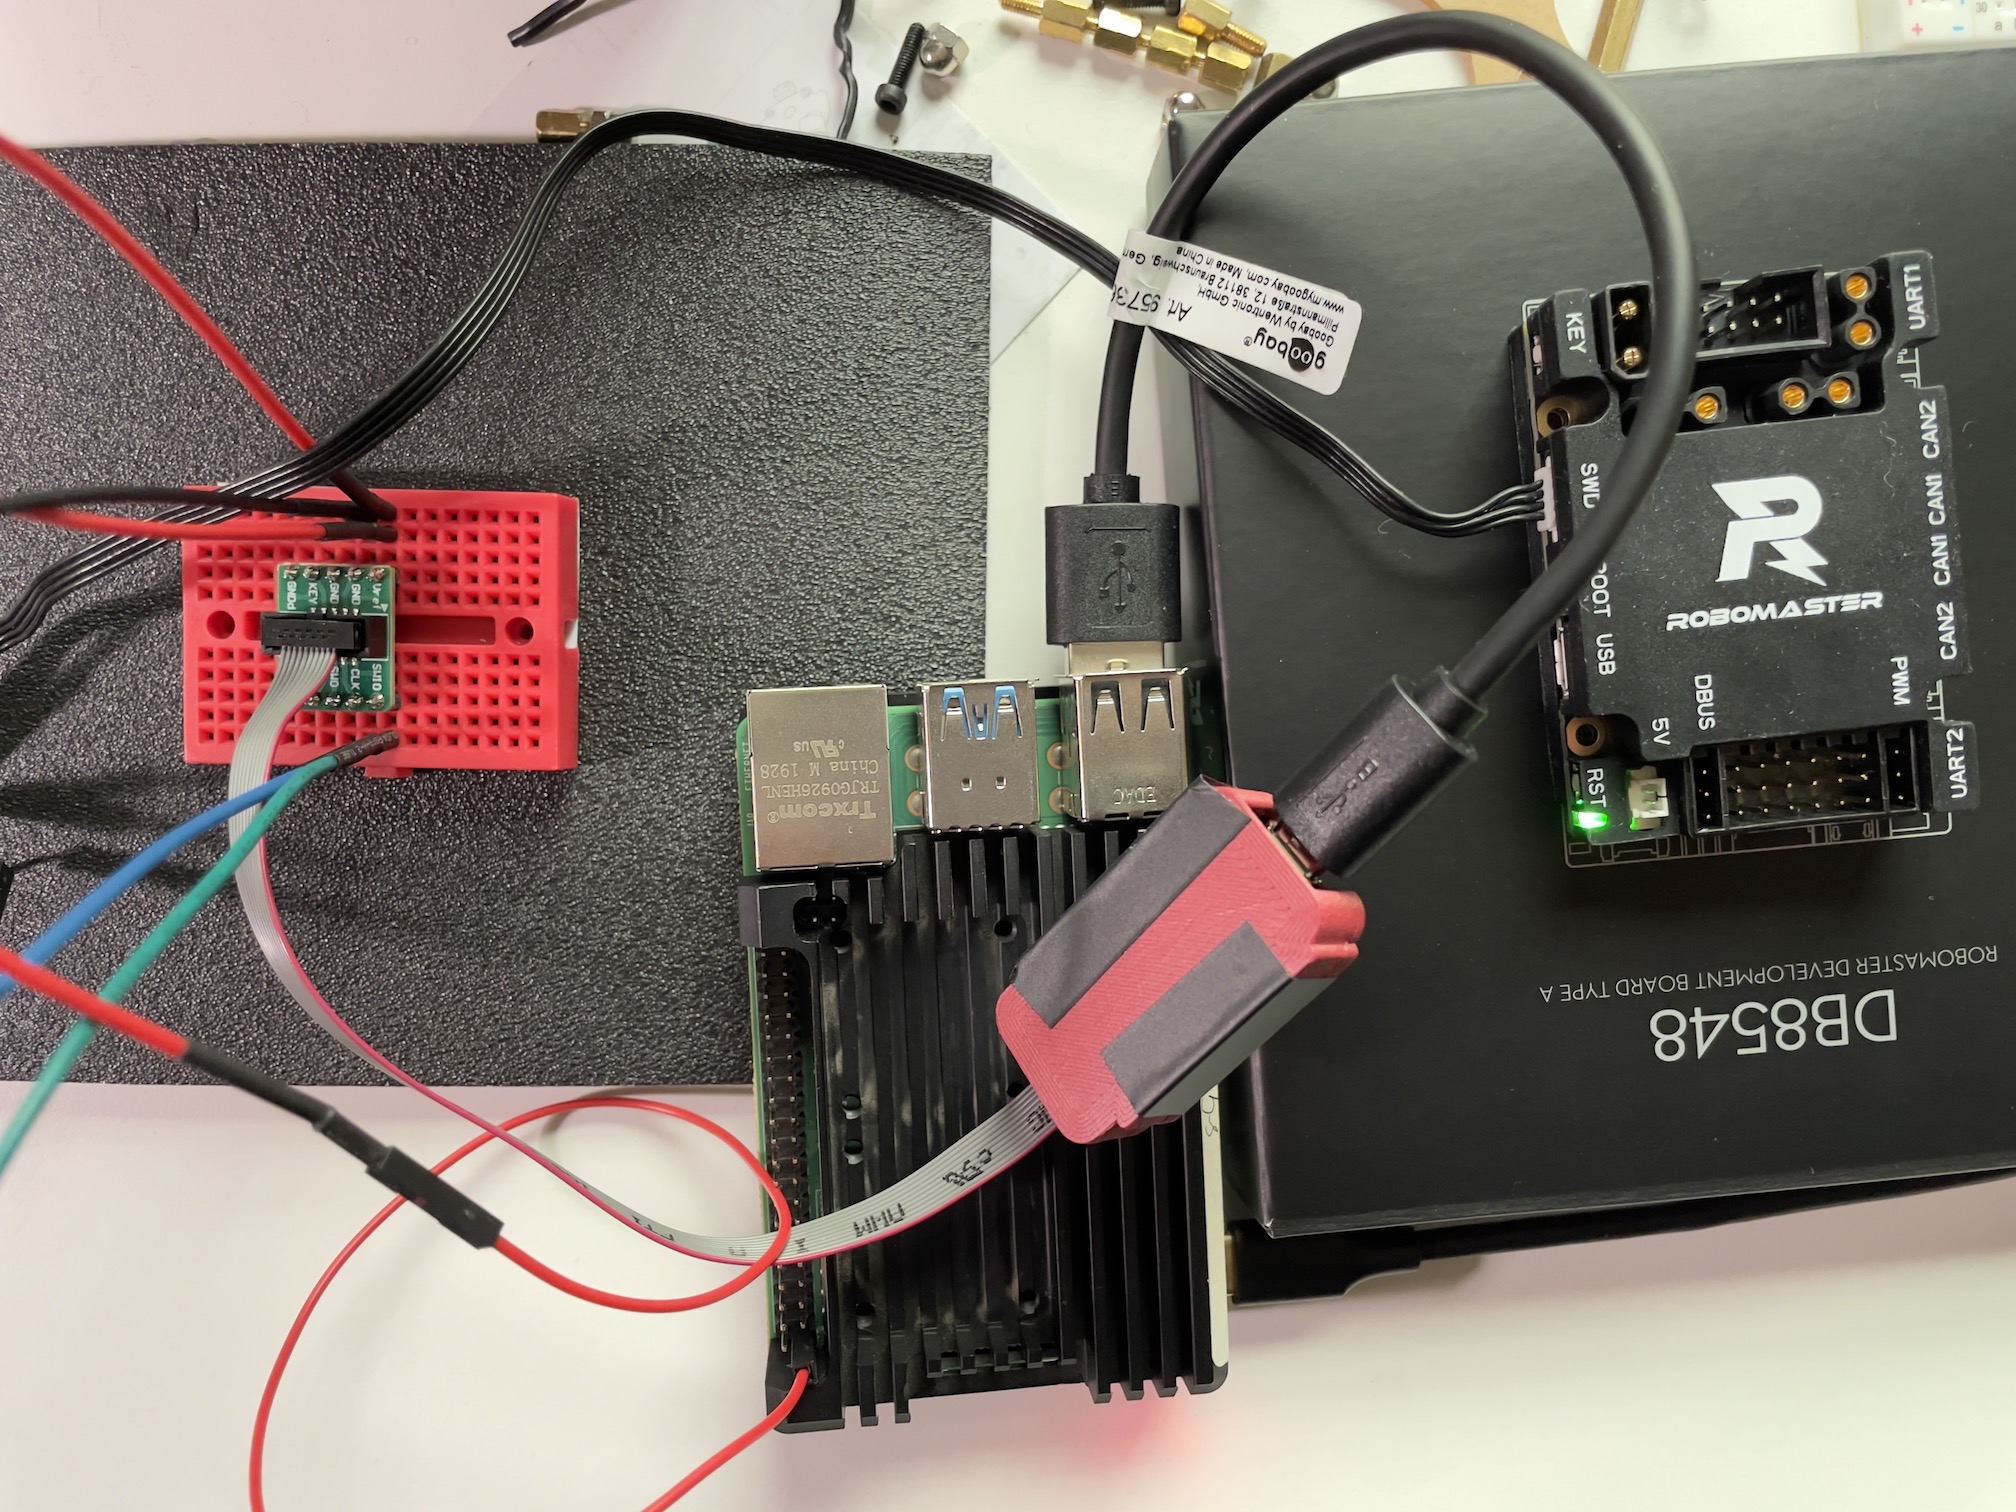
For example, I used Raspberry Pi as my linux host and the connections like below.
Flash the dev Board
- Download and Install STM32CubeMX for Linux
- Download and Install Opened
- Download and Install gcc-arm-none-eabi-10.3-2021.10-aarch64-linux.tar.bz2
- Download and Install Jlink Software for arm64
- git clone https://github.com/RoboMaster/Development-Board-C-Examples.git
- open example project ioc file in STM32CubeMX
- Convert the Toolchain/IDE to makefile in ProjectManager option, then click GENERATE CODE
- Run the Make command under the example project you want, then you can find the elf binary file under the build directory
Download program to robomaster dev board
In this sense, I will flash 1.light_led ELF file to the dev board using the openocd command.
Jlink openocd config file (jlink.cfg)
source [find interface/jlink.cfg]
transport select swd
source [find target/stm32f4x.cfg]

program build/light_led.elf verify reset exit
STLink openocd config file (stlink.cfg)
ource [find interface/stlink.cfg]
source [find target/stm32f4x.cfg]
program build/light_led.elf verify reset exit
Flash command line:
# Use STLink
openocd -f ./stlink.cfg

# Use Jlink
openocd -f ./jlink.cfg
Check if it works, change the main code in Src/main.c, only light the red led.
  while (1)
  {
    /* USER CODE END WHILE */

    /* USER CODE BEGIN 3 */
        //set GPIO output high level
        HAL_GPIO_WritePin(LED_R_GPIO_Port, LED_R_Pin, GPIO_PIN_SET);
        HAL_GPIO_WritePin(LED_G_GPIO_Port, LED_G_Pin, GPIO_PIN_RESET);
        HAL_GPIO_WritePin(LED_B_GPIO_Port, LED_B_Pin, GPIO_PIN_RESET);
  }
  /* USER CODE END 3 */
}
Now, the Red LED is lighting.

Leave a Reply
Want to join the discussion?Feel free to contribute!